Showing posts with label one-nap project. Show all posts

Sunday, December 21, 2014

Tutorial - string ornaments

When collecting paper for the recycle bin, I found some nice red cardboard, I was reminded of this tutorial, and decided to make some string ornaments together with my kids.
A quick and easy project, but the result is really nice. 
We hung our ornaments in the tree, but you could also use them as gift tags or other decoration.
Here's a small tutorial:
1. Cut out small circles from thin cardboard. Cut eight or sixteen slits into the circles.

2. Take some yarn (or twine as I did) and tape it to the backside.

3. Thread the string forward through the slit at the top and bring it down to the slit at the bottom. Then, bring the yarn up and forward through the slit next to the top one, and backward through the slit next to the bottom one. Continue in the same way, until you have completed two rounds.

4. Once completed, weave the yarn underneath one of the strings, make a loop and knot it.

5. You're done!

Saturday, November 8, 2014

Experimenting...

It's been very quiet here on the blog. That usually signifies that real life is not so quiet. Indeed, life has been very busy lately and I haven't had any time to sew, let alone to blog.
Unfortunately, this situation is going to last a while. We're going to renovate the attic to create three bed rooms for our kids. Currently, it is used as our office, sewing room and storage space. We're in the middle of sorting stuff, getting rid of the things we don't need anymore (which is A LOT), and storing everything else -including my sewing necessities- elsewhere in the house.
I don't know how long it will take before I can set up my new sewing room. I guess at least a month or two. In the meantime, I'll resort to an other medium: knitting!

For my latest knitting project, I did a fun experiment in the kitchen. At least, I thought it was fun! My husband did not!
I hand dyed some wool; using food coloring, vinegar and a microwave. As you can imagine, the latter combination was NOT appreciated by my husband! I must admit, it looked and smelled as if I was brewing some toxic concoction. At some point during my experiment there even was a small explosion in the microwave, covering its whole inside in blue spatters. But really, it was a super cool, simple and satisfying experiment.
There are a lot of tutorials on wool dyeing on the internet. Since they are all slightly different, I decided to wing it and follow the instructions loosely. I soaked the (pure wool) yarn, put it in a bowl with water, food coloring and a few spoons of vinegar, put the stuff in the microwave, and let it simmer for a few minutes, until the water looked quite clear (or, in one case, the stuff exploded - probably because I used too little water). Then I rinsed the yarn, and hung it out to dry. Only a few hours later, the first stitches of my new hat were on put on the needles...

Curious about the end result? Stay tuned!

Saturday, May 3, 2014

Secret squirrel's next stop

Do you remember that I hosted Secret Squirrel last month? Next, he went all the way to Hongkong, to Emily from Nap-time Creations. Have a look here to see how she incorporated the five acorns that Secret Squirrel brought her. Those acorns formed a very unlikely combination: pineapple, alhambra, denim, ombre, and upcycled
It was so fun to see how she used the themes as inspiration and how it turned out completely different from what I would have made.
So what would I have made? Of course I thought about this. I played with several ideas, but didn't manage (yet) to turn them into reality. But I did try out one of my ideas today, combining the first two acorns: pineapple and Alhambra.
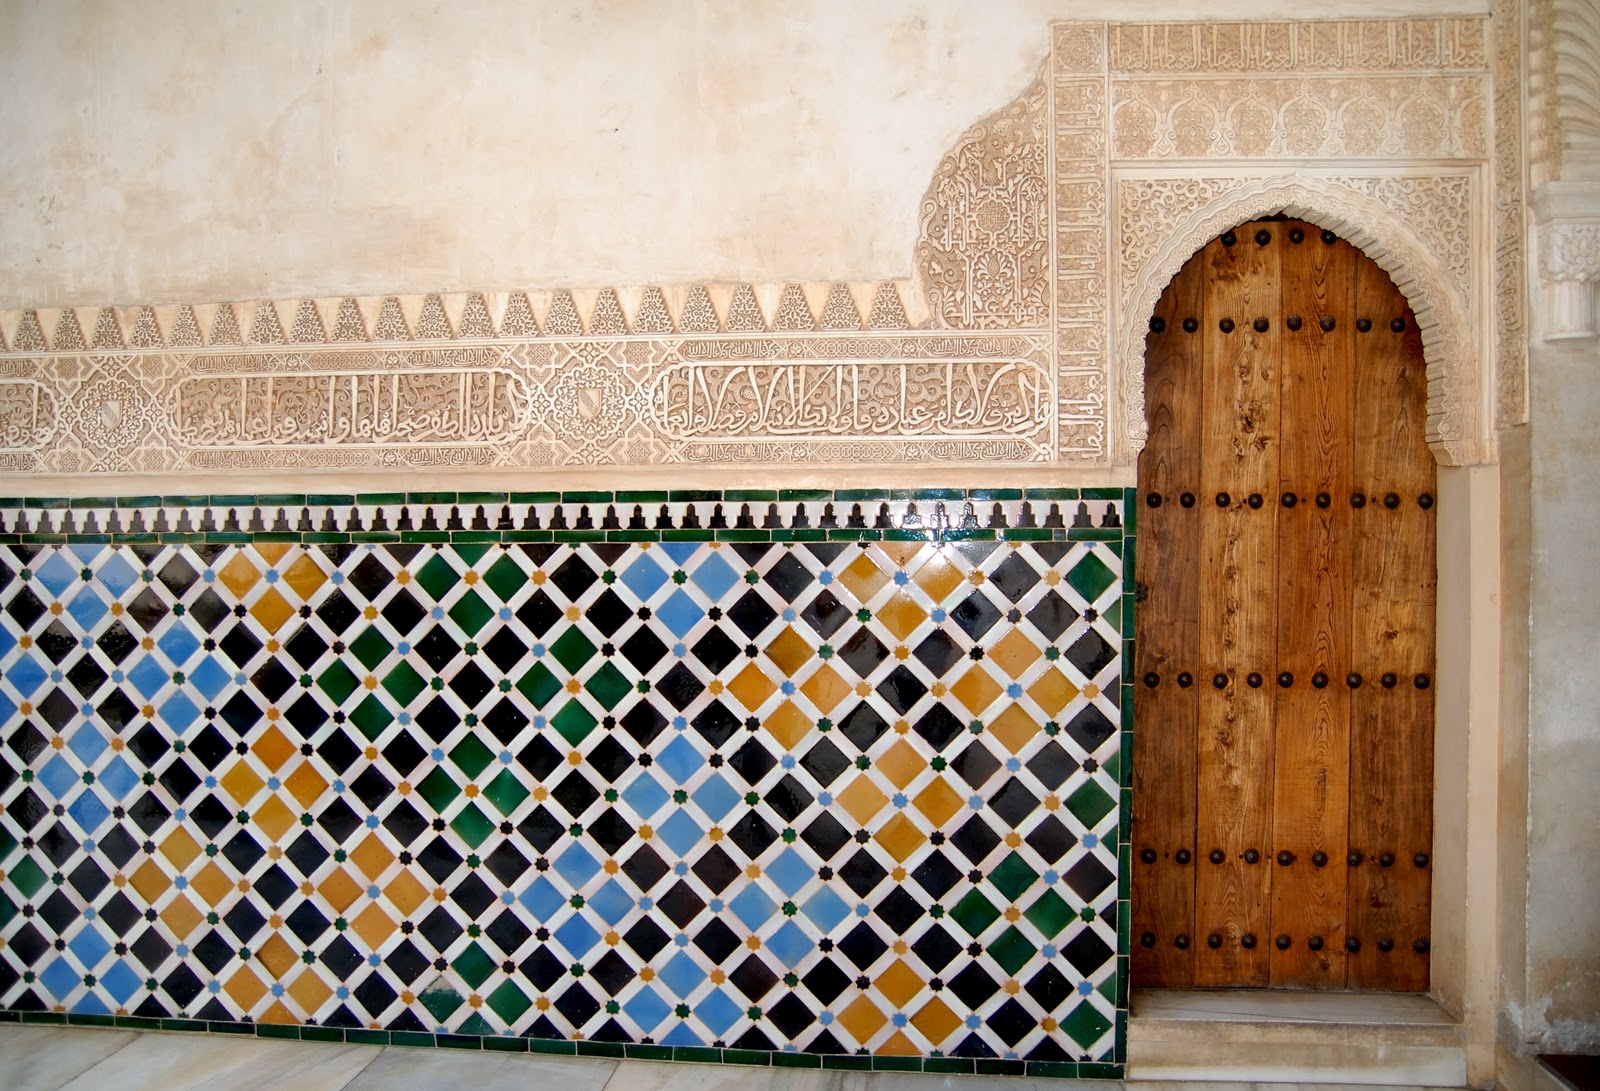
Inspired by the beautiful mosaics in the Alhambra palace in Spain, I created a pineapple stencil (I used similar stencils before), and created this freezer paper print.  
I printed it on a newborn onesie, just to try it out. It turned out as I had hoped, so I will probably use this print again on something that will actually fit one of my kids.
And this onesie? It will most likely become a gift for a little baby girl.

Monday, March 24, 2014

One-nap project: sunprinting tutorial


Recently, I did a great discovery! Well, a great 'crafting discovery' that is. I discovered sun printing. I had read about it online, but never tried it, thinking it involved special attributes such as light-sensitive paint, very bright sunlight and whatnot. Turns out, you can do it with regular fabric paint, it is extremely easy, and the effect is quite stunning. It's the perfect nap-time project.
What I learned is that sun-printing does not even require the sun. An old fashioned lamp (which not only emits light, but also heat) can do the trick as well. That's because you need heat instead of light. The heat lets the area around the mask dry faster than underneath the mask, soaking away the paint from under the mask. And this trick works really well, as I'll show today!

So let's do a little tutorial.

What do you need:

  • cotton or knit fabric
  • regular fabric paint
  • a paint brush
  • leaves or other objects that can function as masks
  • a work area (I used a cutting board from the kitchen, but a plastic-covered cardboard will also work)
  • the sun, or an old-fashioned light-bulb type lamp (if there is no sun, or if it is very windy outside)


  1. Soak the fabric and place it on your work area
    Your attributes
  2. Water down your fabric paint and apply it to the fabric. You can mix different colours or leave a part unpainted for an interesting effect.
  3. Put your masks on top of the fabric. I found that young cow parsley (fluitekruid) leaves give a beautiful wispy effect.
    Cow parsley
    Do not use freshly cut leaves, since these will be too crisp. They need to be a bit soft and limp, so that they lay nice and flat on the fabric. Of course you can also use other things as masks: buttons, coins, cutlery, keys, maybe even paper masks (haven't tried that yet). Just use your imagination.
    Waiting for the sun to appear
  4.  Now, the hardest part ;-). Put your mask-covered fabric in the sun and wait. Just wait.

    I told you, the perfect one-nap project
    Have a cup of coffee! And try to suppress your curiosity. Feel. Not dry yet? Have another cup of coffee.... See, I told you this is the perfect nap-time project!
    Let's have another one!


    Wow! Better than freezer paper stenciling

  5. Is your fabric dry? Now, the best part. Take away the masks and reveal your patterns. Pretty, isn't it?
These triangles will become a baby bunting for a little baby girl. Curious about the result? Come back later...

Thursday, March 13, 2014

One-nap project: fun knee patches


 Sometimes I crave a fun little project that I can complete within an hour or so, giving me instant satisfaction! This whale patch was such a project. 
Patching pants doesn't have to be boring! In fact, the most popular pin from my blog features jeans patched with a bunch of denim stars.
I ripped the outer seam, cut out this whale from an old pair of jeans and appliqued it onto the knee. 
Add some extra stitches to draw the spout, mouth and eye, sew back the outer seam and you're done! 
Instant reward!