Showing posts with label print. Show all posts

Sunday, February 8, 2015

KCW day 3-5:pink for the boy

B recently declared that his new favorite color is pink, so my goal for this Kids Clothes Week was to introduce some pink into his wardrobe. This sweater was made with a nice heathered pink-red knit and an upcycled burgundy red tee.  
To tie the colors together and spice it up a bit, I added a striped pattern to the sleeves with a fabric marker. Drawing the stripes took me at least an hour of precious KCW time, but it was really worth the effort. 
A little mustard colored tag gives a pop of unexpected color.
The second project was a quick upcycle of an old thrifted polo. I could reuse the original neckline, so it was really a super quick project. 
I used the Charlie pattern for the tee, and the fit is perfect. Love these colors on him.
I foresee a lot more pink sewing in the future. 

Thursday, July 17, 2014

Tropical tee


We have a mini heatwave here in the Netherlands, so time for a tropical post.
Indeed, a pineapple again!


Hot summer days like this are rare, and definitely shouldn't be spent in a sweltering sewing room...
So I got a store-bought tee, my old faithful pineapple stencil, and some fabric paint
Quick, easy, and very summery...


By the way, those cute striped shorts are another hand-made item that was once sewn by my mother for my siblings or me, stored for years and years and now finally gets worn again...

Saturday, May 3, 2014

Secret squirrel's next stop

Do you remember that I hosted Secret Squirrel last month? Next, he went all the way to Hongkong, to Emily from Nap-time Creations. Have a look here to see how she incorporated the five acorns that Secret Squirrel brought her. Those acorns formed a very unlikely combination: pineapple, alhambra, denim, ombre, and upcycled. 
It was so fun to see how she used the themes as inspiration and how it turned out completely different from what I would have made.
So what would I have made? Of course I thought about this. I played with several ideas, but didn't manage (yet) to turn them into reality. But I did try out one of my ideas today, combining the first two acorns: pineapple and Alhambra.
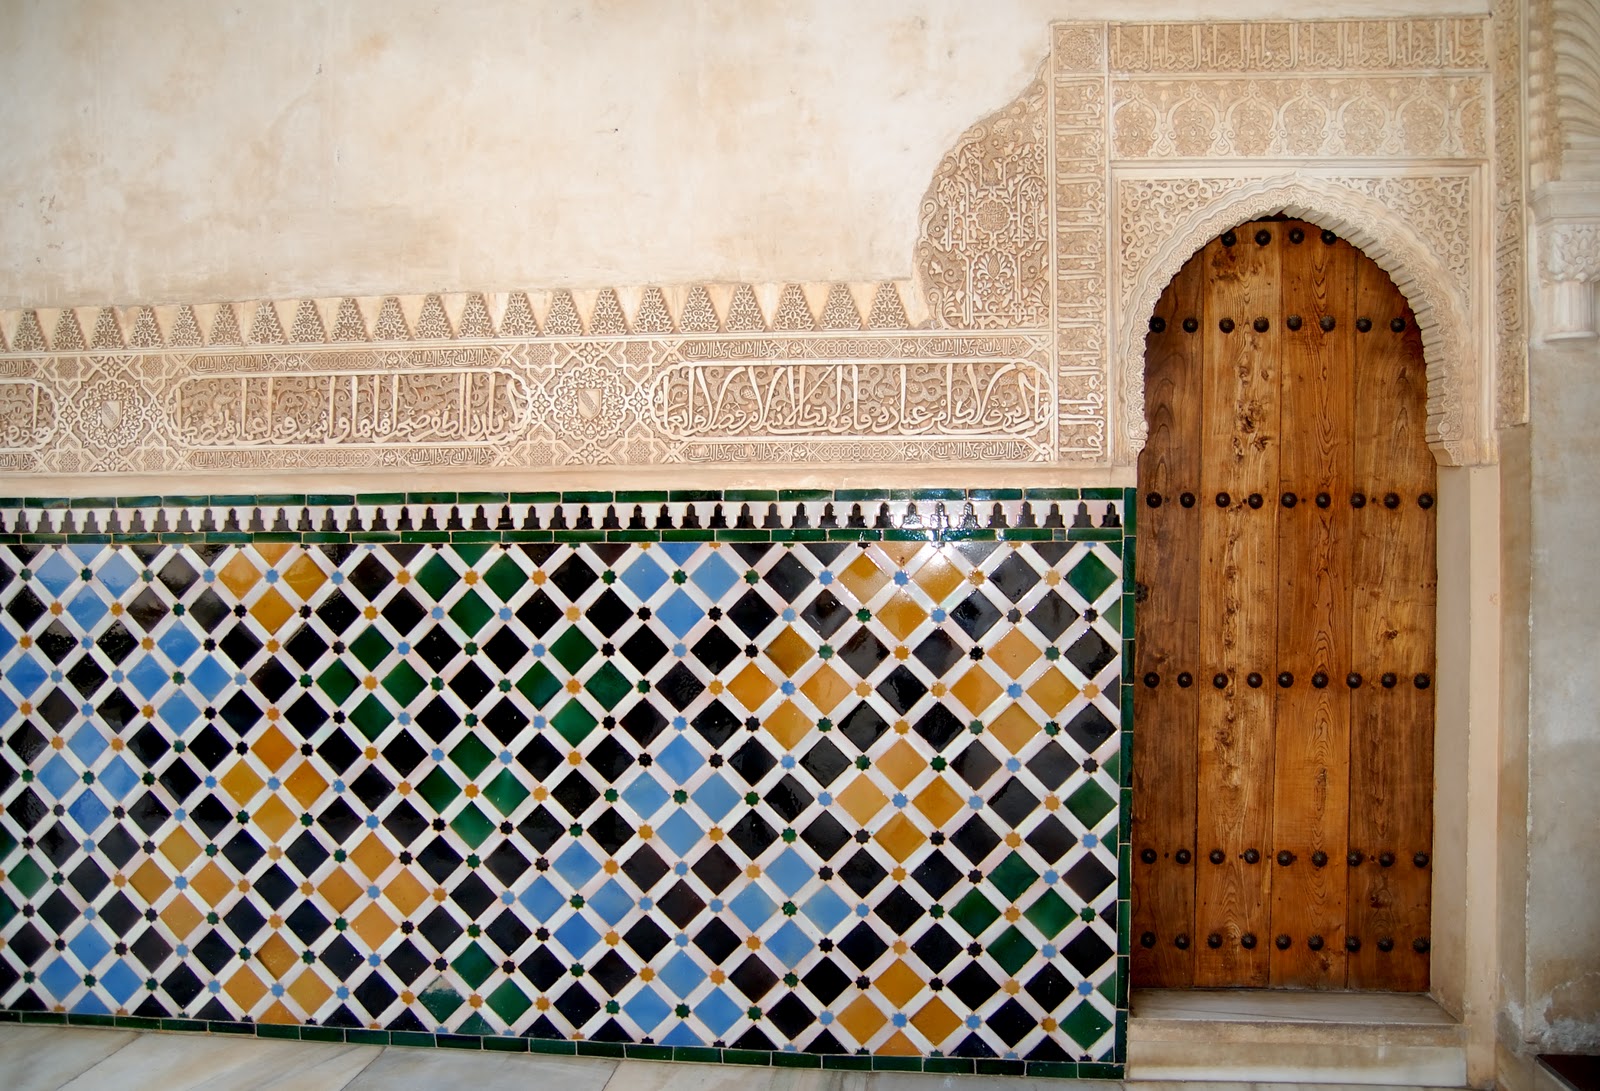
Inspired by the beautiful mosaics in the Alhambra palace in Spain, I created a pineapple stencil (I used similar stencils before), and created this freezer paper print.  
I printed it on a newborn onesie, just to try it out. It turned out as I had hoped, so I will probably use this print again on something that will actually fit one of my kids.
And this onesie? It will most likely become a gift for a little baby girl.

Wednesday, April 9, 2014

zigzag...

One of my favorite creations is the triangle sweater I created last year. My son recently outgrew this sweater, so the concurrence of Project Run and Play's theme of this week (design your own fabric) and the "Sew all 26" series at No Big Dill (which has arrived at Z) formed the perfect excuse to make a new shirt. Since summer is on its way, it became a t-shirt. 
Initially, I wanted to use a fresher colour, but at the fabric market, I simply couldn't make up my mind which colour to choose. So in the end I went with the same colours as last time. I upcycled a huge men's shirt, which, despite having a print on the front and back, still had enough blank fabric.
The pattern was made using discharge paste, a thick bleach-like paste that is perfect for freezer paper stenciling (read all about the technique here). 
I stenciled two tags with the pattern. One was used for the collar, the other one was folded, following the example on this beautiful sweater from Nellekus.

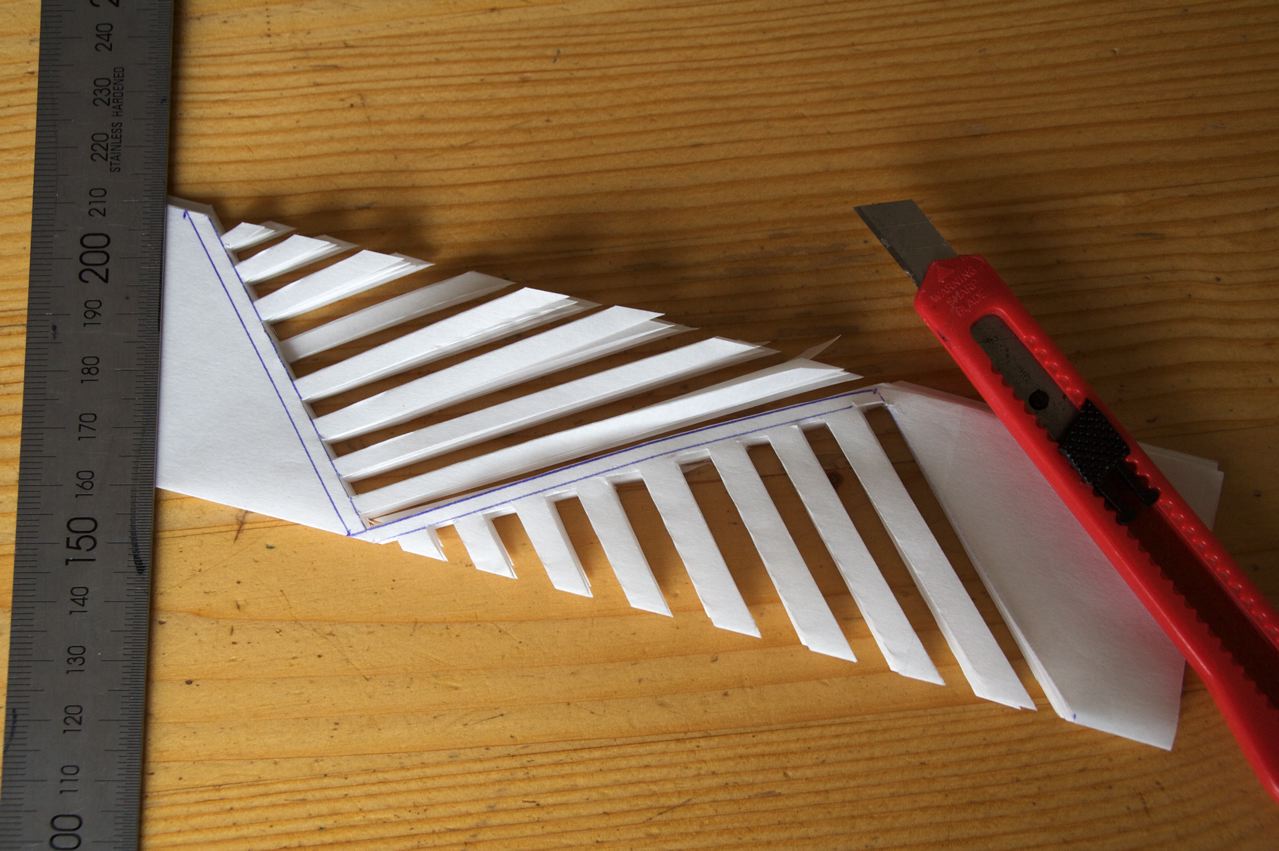
So how did I create the stencil? It looks more difficult than it actually is. Let me show you...
First, I cut a rectangle of freezer paper of about 40x25 cm (using the entire width of the paper).
Fold the paper zigzag-wise into eight parts.
Draw two triangles, like this...
Cut out small strips within the shape of one triangle, using a knife or scissors.
Looking good already...
Cut out strips from the other triangle.
Fold open and admire! 
I accidentally cut out too much here. No problem. You can add the cut-off part(s) when ironing on your stencil.

You can vary the angles, which results in different patterns. As you can see, I used three different patterns for the front, back and sleeves...
In case you wonder, this is my (tomboyish) daughter. Her brother was ill today, but she volunteered to model, in exchange for some M&M's of course...
Linking up to Project Run and Play, Kids Clothes Week and No Big Dill's "Sew all 26" series.

Thursday, April 3, 2014

preparing for PR&P week 3

Freezer paper stenciled birch fabric
In preparation for next week's theme of Project Run and Play (design your own fabric), I created a small piece of fabric with a birch print.
Can you guess what I will use it for? Given my two previous items, it shouldn't be too hard to guess...

Monday, March 24, 2014

One-nap project: sunprinting tutorial


Recently, I did a great discovery! Well, a great 'crafting discovery' that is. I discovered sun printing. I had read about it online, but never tried it, thinking it involved special attributes such as light-sensitive paint, very bright sunlight and whatnot. Turns out, you can do it with regular fabric paint, it is extremely easy, and the effect is quite stunning. It's the perfect nap-time project.
What I learned is that sun-printing does not even require the sun. An old fashioned lamp (which not only emits light, but also heat) can do the trick as well. That's because you need heat instead of light. The heat lets the area around the mask dry faster than underneath the mask, soaking away the paint from under the mask. And this trick works really well, as I'll show today!

So let's do a little tutorial.

What do you need:

  • cotton or knit fabric
  • regular fabric paint
  • a paint brush
  • leaves or other objects that can function as masks
  • a work area (I used a cutting board from the kitchen, but a plastic-covered cardboard will also work)
  • the sun, or an old-fashioned light-bulb type lamp (if there is no sun, or if it is very windy outside)


  1. Soak the fabric and place it on your work area
    Your attributes
  2. Water down your fabric paint and apply it to the fabric. You can mix different colours or leave a part unpainted for an interesting effect.
  3. Put your masks on top of the fabric. I found that young cow parsley (fluitekruid) leaves give a beautiful wispy effect.
    Cow parsley
    Do not use freshly cut leaves, since these will be too crisp. They need to be a bit soft and limp, so that they lay nice and flat on the fabric. Of course you can also use other things as masks: buttons, coins, cutlery, keys, maybe even paper masks (haven't tried that yet). Just use your imagination.
    Waiting for the sun to appear
  4.  Now, the hardest part ;-). Put your mask-covered fabric in the sun and wait. Just wait.

    I told you, the perfect one-nap project
    Have a cup of coffee! And try to suppress your curiosity. Feel. Not dry yet? Have another cup of coffee.... See, I told you this is the perfect nap-time project!
    Let's have another one!


    Wow! Better than freezer paper stenciling

  5. Is your fabric dry? Now, the best part. Take away the masks and reveal your patterns. Pretty, isn't it?
These triangles will become a baby bunting for a little baby girl. Curious about the result? Come back later...

Monday, October 7, 2013

Woooshhh


Woooshhhh, another little snowboarder has arrived. 
For my little nephew Ole I stenciled this snowboarder onesie. 
Have a gnarly ride through the pow pow, little dude!
(see the Snowboarding Dictionary for a translation)


Thursday, September 5, 2013

Surf's up


Got some boring old jeans?
Cut them off, throw them in the bleach, stencil a surfer dude, and there you are. A very cool pair of shorts.