Friday, May 16, 2014

Ole Guacamole

Ola!
This tee is for my nephew Ole! 
His parents call him Ole Guacamole! 
Upon hearing this funny nickname, inspiration started flowing, and I simply had to make him this tee.
 I happened to have a very soft -almost velvety- green XL tee in my stash that had exactly the colour and feel of a ripe avocado. 
My best neckline ever!
 Inspired by the marvellous shirts made by Trine from Groovybaby... and Mama, I decided to add some shoulder pads. I freezer paper stenciled yellow rectangles on a rusty orange knit. Can you guess what they should resemble? (My husband had no clue...)
Isn't it obvious? Nacho chips of course....

To prevent the little guy's head to get stuck, I added a button closure to the left shoulder. I used some fun buttons with an aztec-like print and lime green thread to fix the buttons. 
 The lime green also appeared in the side tag and the serged edges.  
So, there it is! A fun shirt for Ole Guacamole!

Linking up to: 
Inspired Us Thursdays: Sew Needle Stitch Hook, a link party of fiber arts. | The Inspired Wren

Saturday, May 3, 2014

Secret squirrel's next stop

Do you remember that I hosted Secret Squirrel last month? Next, he went all the way to Hongkong, to Emily from Nap-time Creations. Have a look here to see how she incorporated the five acorns that Secret Squirrel brought her. Those acorns formed a very unlikely combination: pineapple, alhambra, denim, ombre, and upcycled
It was so fun to see how she used the themes as inspiration and how it turned out completely different from what I would have made.
So what would I have made? Of course I thought about this. I played with several ideas, but didn't manage (yet) to turn them into reality. But I did try out one of my ideas today, combining the first two acorns: pineapple and Alhambra.
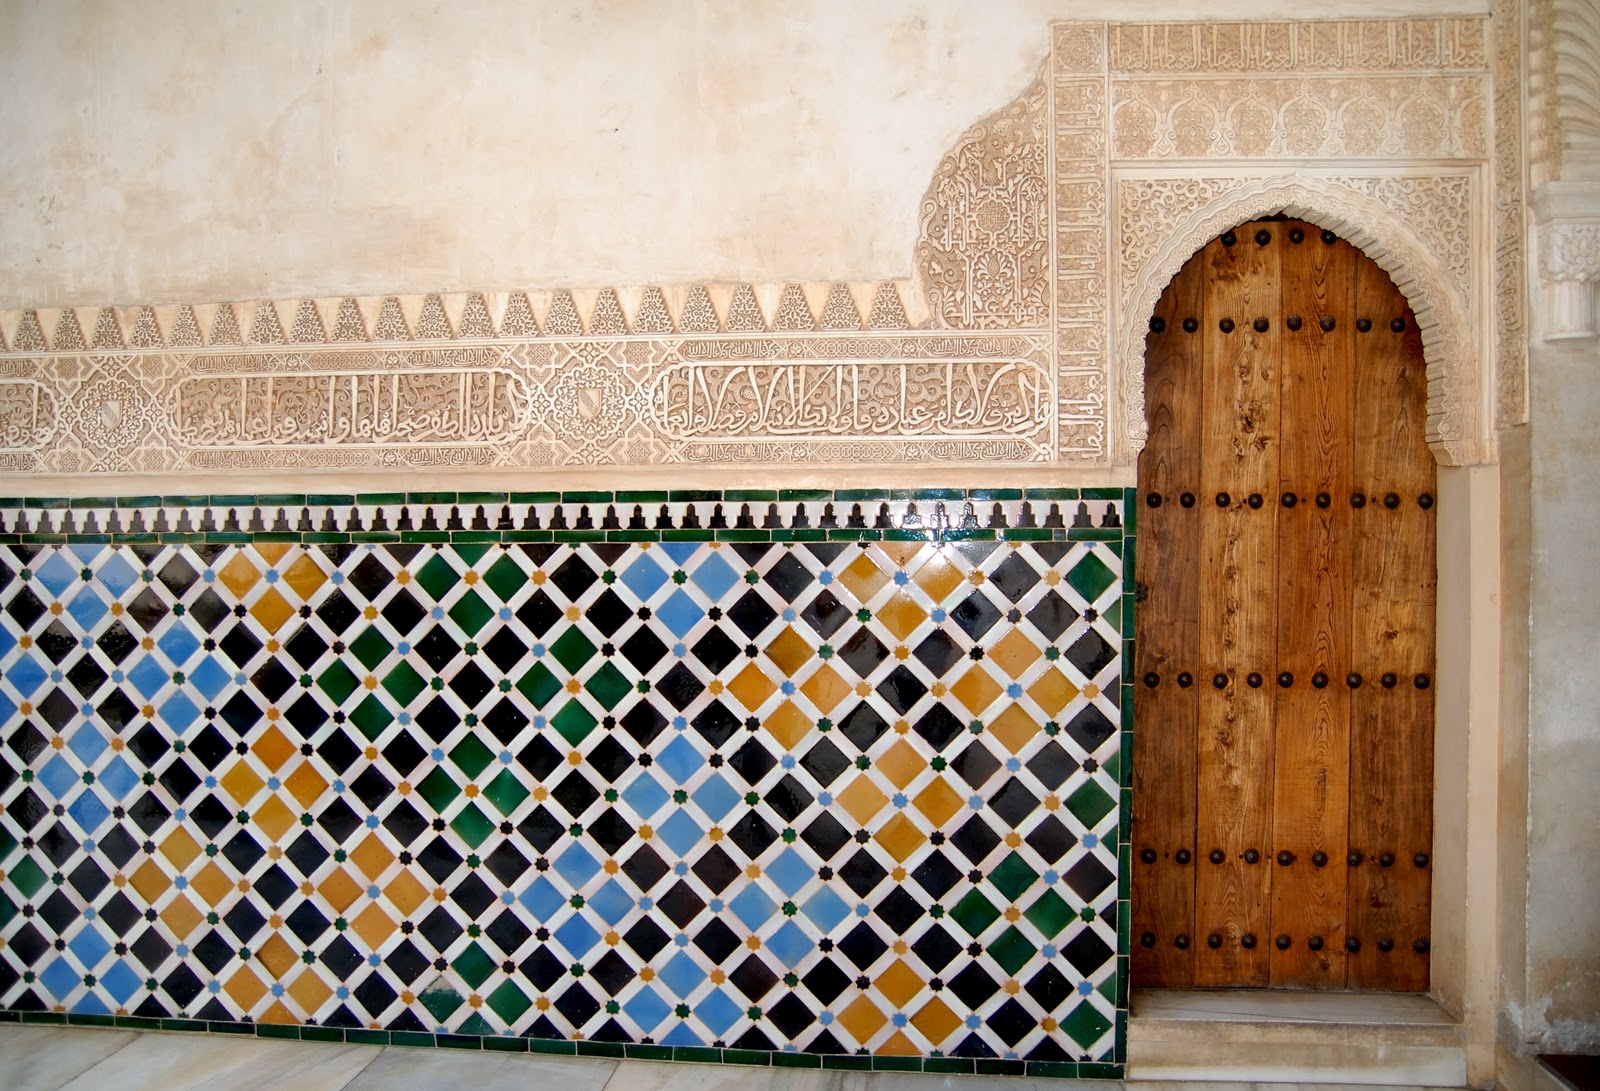
Inspired by the beautiful mosaics in the Alhambra palace in Spain, I created a pineapple stencil (I used similar stencils before), and created this freezer paper print.  
I printed it on a newborn onesie, just to try it out. It turned out as I had hoped, so I will probably use this print again on something that will actually fit one of my kids.
And this onesie? It will most likely become a gift for a little baby girl.

Sunday, April 27, 2014

sail away...

Hi there! Wanna see my latest creation?
Yes! Another dip-dyed sailor sweater. 
A while ago, I pinned this hoodie from Scotch and Soda. I love their clothes, but their prices? Not so much. The sweater shown here costs a whopping 89,95 Euros! 
My inspiration: a Scotch Shrunk hoodie
I figured I could create something similar myself, for a fraction of the price! So I bought a yard of navy striped knit, and dipped it into a dye bath. It took some experimenting to get it right, but in the end, I'm satisfied with the result. 
Then it was just a matter of sewing up the sweater. I used a basic shirt pattern from Ottobre (size 122), and added an overlapping, shawl-like collar.

To create this collar, I cut the neckline about two centimeter (1 inch) wider than the pattern prescribed. The collar was a strip of approximately 70 cm (28 inch) long and 8 cm (3 inch) wide, tapering off at the ends, which I then sewed to the neckline. 

The bright orange drawstring gives a nice pop of color.
So does the topstitching on the elbow pads.
So, there it is. A real Scotch and Soda knockoff for about 10% of their price!
In total, this sweater cost me no more than € 9.00:
Navy striped fabric: €4.50 (9.00 per meter)
Blue fabric: from my stash
Dye: €2.75 (I used only half a sachet)
Orange drawstring: €1

I'm linking to:
Inspired Us Thursdays: Sew Needle Stitch Hook, a link party of fiber arts. | The Inspired Wren

Sunday, April 20, 2014

Ahoy!

Do you follow the "Calling All Kids" series at Alida Makes? I love this series! It's about exploring kid's clothes as it relates to gender. Alida has a great lineup of guest bloggers who create amazing clothes, ranging from pink, purple and floral shirts for boys to tuxedo inspired dresses for girls. Inspired by this series, I decided to explore a bit as well, and vary from my usual color palette by incorporating pink! 
Today's creation was for my youngest, who is not yet opinionated. Even though I don't really dislike pink, my two oldest kids (a girl and a boy) do. By making this sailor shirt for my youngest I was sure that the neon pink topstitching would not be met with opposition. 
Another reason for choosing my youngest as target that I could reuse a jumpsuit (size 6 mo) that had shrunk into crazy proportions. It had become extremely wide and was roomy enough for my 12 month old. Ready to be upcycled!

I cut off the legs, and opened up the side seams. To create a dip dye effect, I painted the bottom rows of the shirt and sleeves with fabric paint, which I diluted progressively as I moved up.
I love the effect. It's as if the shirt was dipped into the sea!
The leg parts were reused for the collar. After having sewed several shirts with very small head openings, wanted to be sure that this one was wide enough. Yes, it is! Even I can put my head through it... So I put in a drawstring, which is kept in place with two leather 'stoppers'.
I loved the combination of the blue and pink, so added some more pink topstitching around the elbow pads.
 And with that, my little boy is ready to explore...

Wednesday, April 9, 2014

zigzag...

One of my favorite creations is the triangle sweater I created last year. My son recently outgrew this sweater, so the concurrence of Project Run and Play's theme of this week (design your own fabric) and the "Sew all 26" series at No Big Dill (which has arrived at Z) formed the perfect excuse to make a new shirt. Since summer is on its way, it became a t-shirt. 
Initially, I wanted to use a fresher colour, but at the fabric market, I simply couldn't make up my mind which colour to choose. So in the end I went with the same colours as last time. I upcycled a huge men's shirt, which, despite having a print on the front and back, still had enough blank fabric.
The pattern was made using discharge paste, a thick bleach-like paste that is perfect for freezer paper stenciling (read all about the technique here). 
I stenciled two tags with the pattern. One was used for the collar, the other one was folded, following the example on this beautiful sweater from Nellekus.

So how did I create the stencil? It looks more difficult than it actually is. Let me show you...
First, I cut a rectangle of freezer paper of about 40x25 cm (using the entire width of the paper).
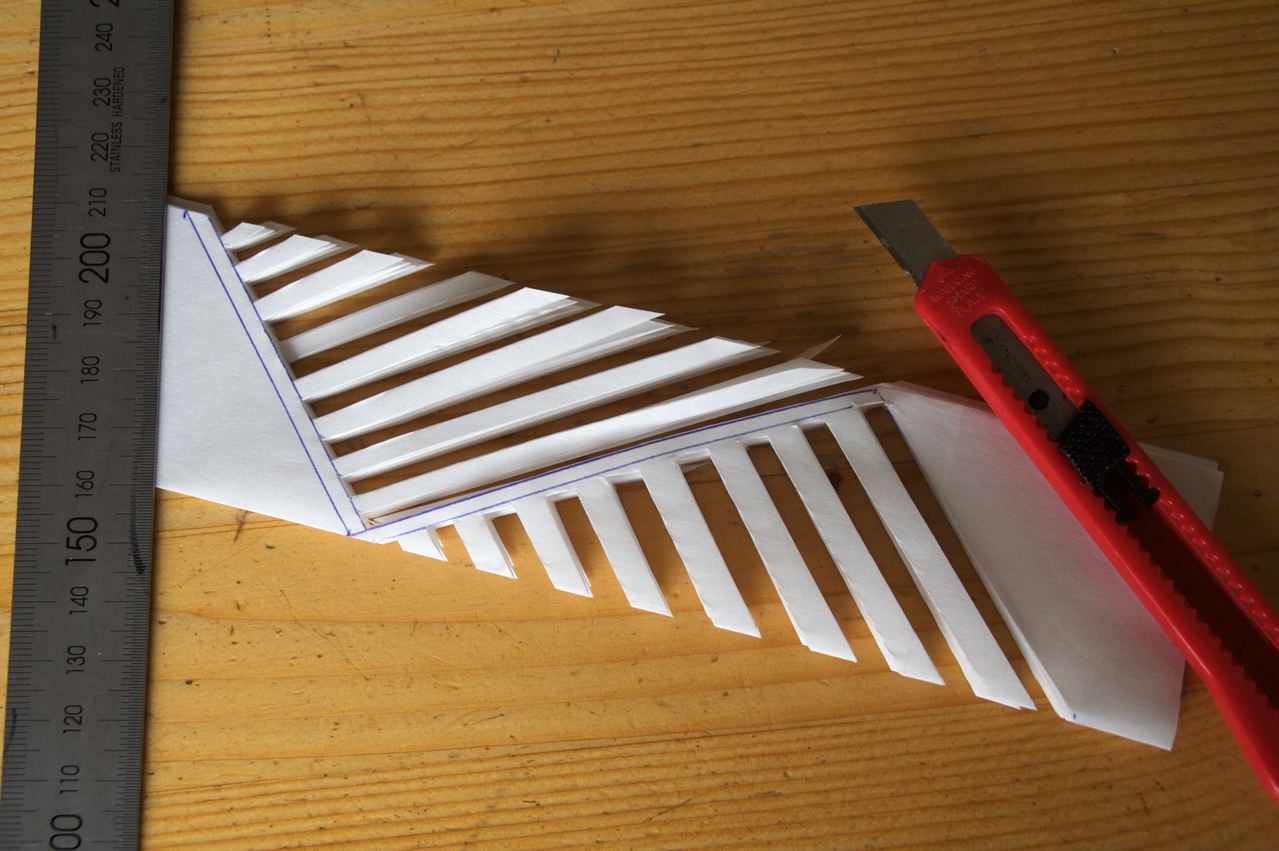
Fold the paper zigzag-wise into eight parts.
Draw two triangles, like this...
Cut out small strips within the shape of one triangle, using a knife or scissors.
Looking good already...
Cut out strips from the other triangle.
Fold open and admire! 
I accidentally cut out too much here. No problem. You can add the cut-off part(s) when ironing on your stencil.

You can vary the angles, which results in different patterns. As you can see, I used three different patterns for the front, back and sleeves...
In case you wonder, this is my (tomboyish) daughter. Her brother was ill today, but she volunteered to model, in exchange for some M&M's of course...
Linking up to Project Run and PlayKids Clothes Week and No Big Dill's "Sew all 26" series.

Sunday, April 6, 2014

Birch shirt

It's Project Run and Play week 3, and I managed to sew along this week as well. The theme for this week is 'design your own fabric'. I love designing my own fabric, and have tried out different techniques (more about that in a later post). I had lots of ideas, but started with a simple project; another color-blocked pocket tee (see my previous -very different- versions here and here). Obviously, I'm not yet bored of those shirts.

For this shirt, I designed the fabric of a small, but significant part; the pocket.
I was inspired by the birch forest surrounding my office. Two shades of grey, a graphic pocket and some bright green details, to give it a fresh, spring-y look. Again, a very simple upcycle, using an store bought heather grey shirt for the top part.
The pocket was freezer paper stenciled in two steps. First, I simply painted stripes (about 1/2 inch wide) in different shades of light grey. 
When paint was dry, I ironed on the freezer paper stencils. These were just long strips with some notches cut out here and there. I painted over the stencils with dark grey.
And here is the result... Looks like birch trees, right?